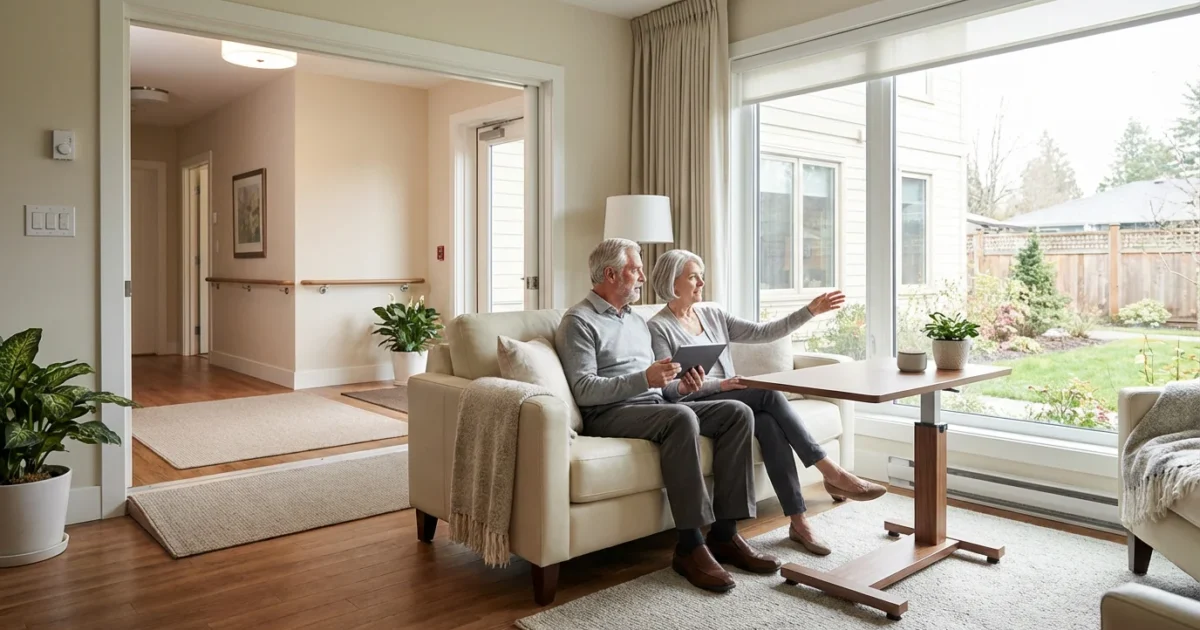
Your retirement years represent a unique opportunity to enjoy life on your terms. For many Americans aged 55 and over, this means ensuring their home supports their independence, comfort, and safety for decades to come. Whether you plan to age in place in your current residence or seek a new one, prioritizing accessibility is a smart investment in your future.
If your home assessment leads you to consider moving, it is essential to create a budget for your retirement relocation to manage costs effectively.
An accessible home adapts to changing physical needs, preventing falls, reducing strain, and allowing you to move freely and confidently. This guide provides practical, actionable insights and step-by-step advice on making your living space comfortable and accessible. You will discover how to identify potential barriers and implement solutions, transforming your home into a truly supportive environment for your retirement.
Table of Contents
- Understanding Universal Design: The Foundation of an Accessible Home
- Assessing Your Current Home for Accessibility Needs
- Key Accessibility Features for Entryways and Pathways
- Creating a Safe and Functional Bathroom
- Optimizing Kitchens and Living Spaces for Ease of Use
- Bedrooms and Personal Spaces: Comfort and Safety
- Smart Home Technology for Enhanced Accessibility and Independence
- Planning Your Accessibility Project: Costs, Resources, and Professional Help
- Frequently Asked Questions
Understanding Universal Design: The Foundation of an Accessible Home
Universal design represents a philosophy of creating environments and products usable by all people, to the greatest extent possible, without the need for adaptation or specialized design. It anticipates diverse abilities and needs, ensuring that your home serves you well through every stage of life. Implementing universal design principles proactively allows your home to evolve with you.
In addition to physical design, many retirees prioritize locations known as the best retirement cities for healthcare access to ensure long-term wellness.
Applying these design concepts early makes it easier if you eventually transition into active adult communities that prioritize senior-friendly layouts.
This approach moves beyond simply meeting minimum accessibility standards. It focuses on aesthetics and functionality, making your home beautiful and practical for everyone, including visitors and family members of all ages. Consider how a zero-threshold shower benefits someone using a wheelchair, a parent bathing a child, or even someone with a temporary injury. These features offer broad advantages.
The principles of universal design include equitable use, flexibility in use, simple and intuitive use, perceptible information, tolerance for error, low physical effort, and appropriate size and space for approach and use. Apply these principles throughout your home modification planning. For example, installing lever handles on doors and faucets benefits individuals with arthritis, young children, or anyone carrying items.
The aging population in the United States highlights the importance of universal design. According to the U.S. Census Bureau, the number of people aged 65 and older is projected to nearly double from 56 million in 2020 to 95 million by 2060. Many of these individuals express a strong desire to age in place, underscoring the critical need for accessible home environments. You make a wise long-term decision by embracing universal design now.
“The best way to predict the future is to create it.”
Assessing Your Current Home for Accessibility Needs
Before you begin any modifications, perform a thorough assessment of your current home. Identify existing barriers and potential future challenges. Walk through each room with a critical eye, imagining everyday tasks from different perspectives. Consider your current mobility and anticipate how it might change over the next 10, 20, or even 30 years.
Should you decide to sell your property, employing specific home staging tips for seniors can help you transition more efficiently.
If you find your current floor plan is too difficult to modify, you may benefit from a practical guide to downsizing for a fresh start.
If you find that your current layout requires too many expensive modifications, you might want to learn how to downsize your home for retirement to a more suitable space.
Begin at your front door and work your way through every space. Note areas that require awkward movements, involve climbing or reaching, or pose a risk of falls. You can even simulate mobility challenges by walking with limited vision or movement to better understand potential obstacles. This comprehensive evaluation forms the basis of your accessibility plan.
Focus on common areas where accessibility issues often arise. These include entryways, bathrooms, kitchens, and stairs. Evaluate lighting levels, floor surfaces, and the width of doorways and hallways. Document your observations carefully, creating a prioritized list of modifications. This systematic approach ensures you address the most critical needs first.
Common barriers you might identify include:
- Steps or thresholds at entryways.
- Narrow doorways (less than 32 inches clear opening).
- Tight hallways or congested living spaces.
- Bathrooms lacking grab bars or walk-in showers.
- Toilets that are too low.
- Slippery floor surfaces, especially in kitchens and bathrooms.
- Kitchen counters and cabinets that are too high or difficult to reach.
- Poor lighting in critical areas such as stairs or pathways.
- Hard-to-reach outlets or light switches.
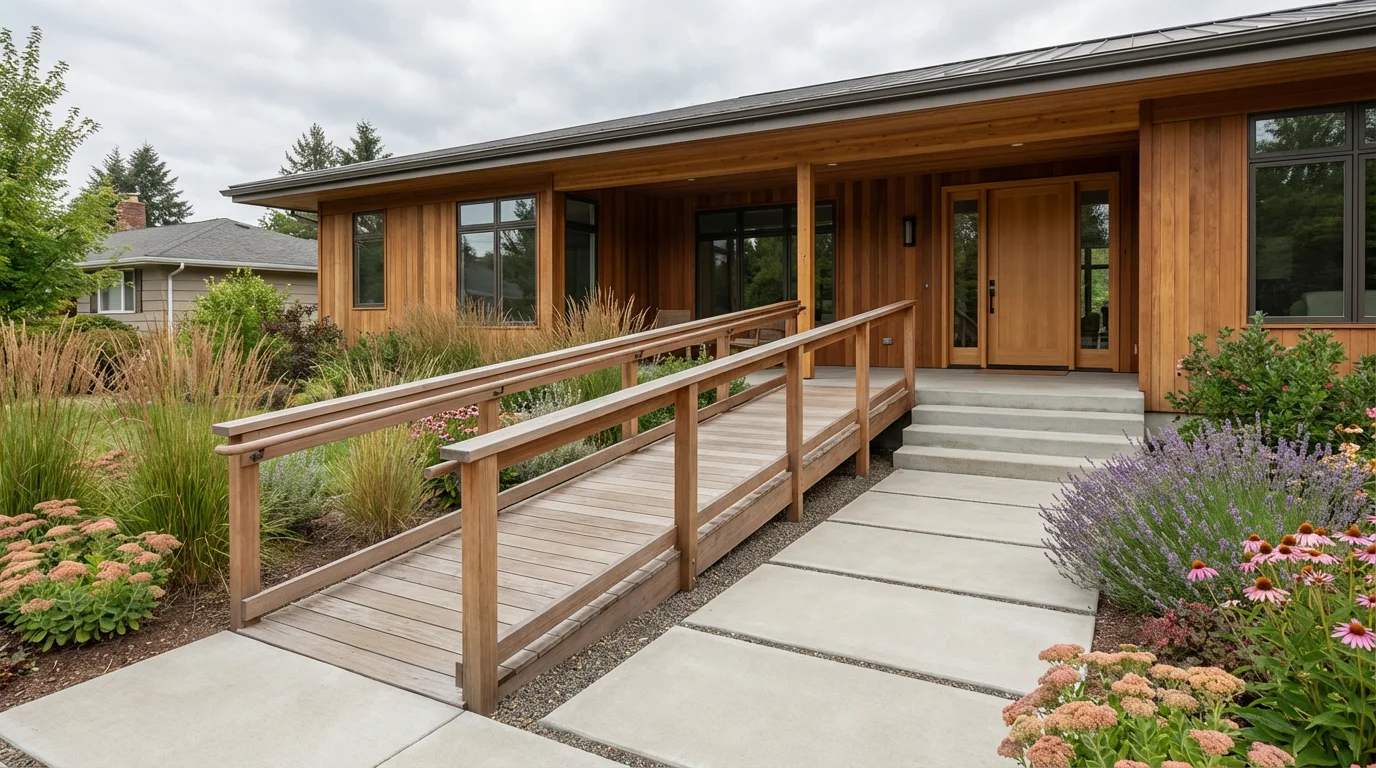
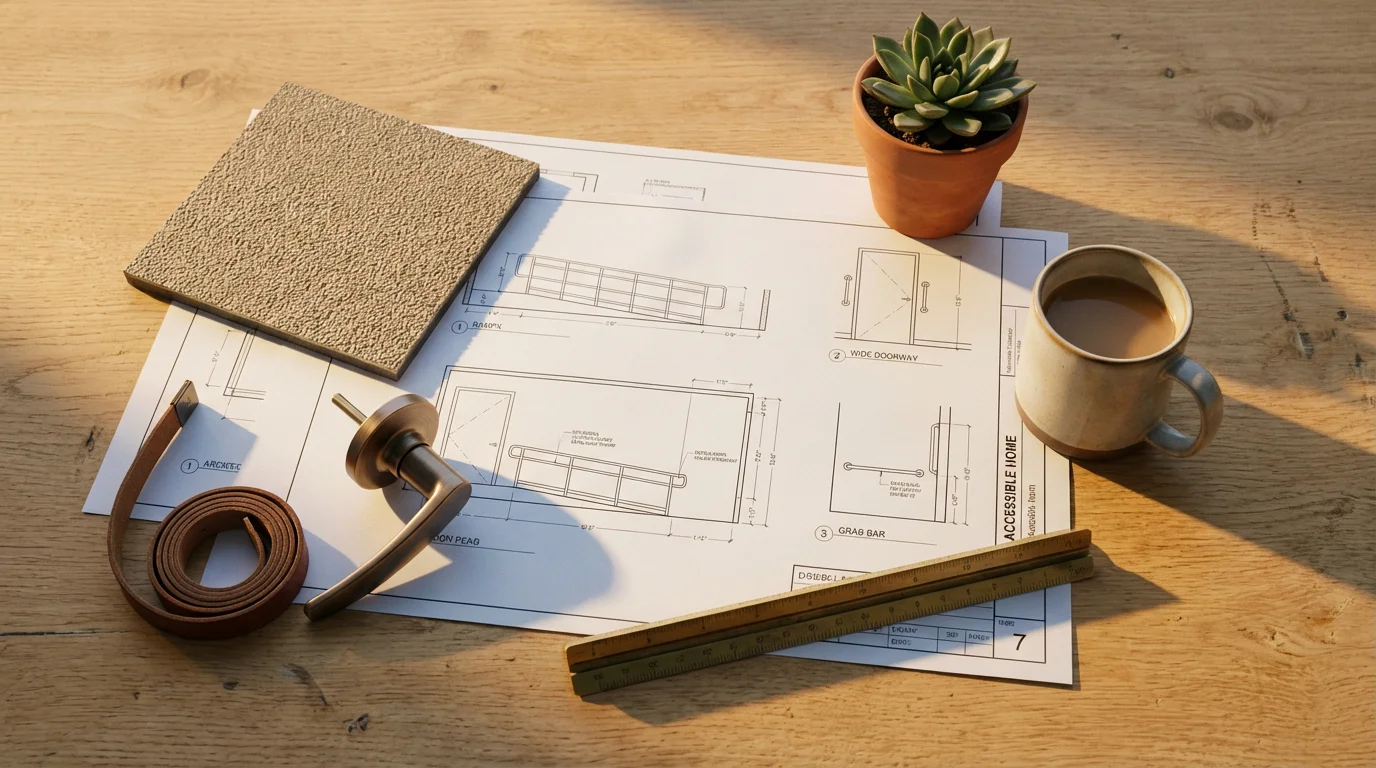
Key Accessibility Features for Entryways and Pathways
Easy and safe access into and out of your home is fundamental for independence. Exterior pathways and entryways often present the first significant barrier for many individuals. Prioritize creating a smooth, level, and well-lit approach to your home. This includes addressing steps, thresholds, and uneven surfaces.
Once you have addressed physical access, choosing a reliable moving company is the next step in ensuring a stress-free move to your new residence.
While improving entryways, homeowners in coastal regions should also consider hurricane preparedness for coastal retirees to protect their modified property.
For homes with steps, consider installing a permanent ramp. Ensure the ramp has a gentle slope, ideally no more than a 1:12 ratio (one foot of length for every inch of rise). Include handrails on both sides of the ramp for added stability and security. Materials like treated wood, composite, or concrete offer durable solutions.
Eliminate thresholds at all exterior doors or reduce them to a minimal height, ideally half an inch or less. This allows for smooth passage with walkers or wheelchairs. Ensure exterior doorways provide a minimum clear opening of 32 inches, preferably 36 inches, to accommodate mobility aids. Replace existing narrow doors if necessary.
Proper lighting is paramount for safety, especially at night. Install bright, motion-activated lights at all entry points. Ensure outdoor pathways remain clear of debris, overgrown vegetation, and uneven paving stones. Consider contrasting colors for pathway edges to improve visibility for those with low vision.
- Install zero-threshold entryways or low-profile thresholds (1/2 inch maximum).
- Ensure exterior door widths offer a minimum 32-inch clear opening.
- Add sturdy handrails on both sides of steps or ramps.
- Illuminate pathways and entry points with bright, motion-sensor lighting.
- Maintain clear, non-slip exterior surfaces.
- Consider a doorbell camera for easy visitor identification.
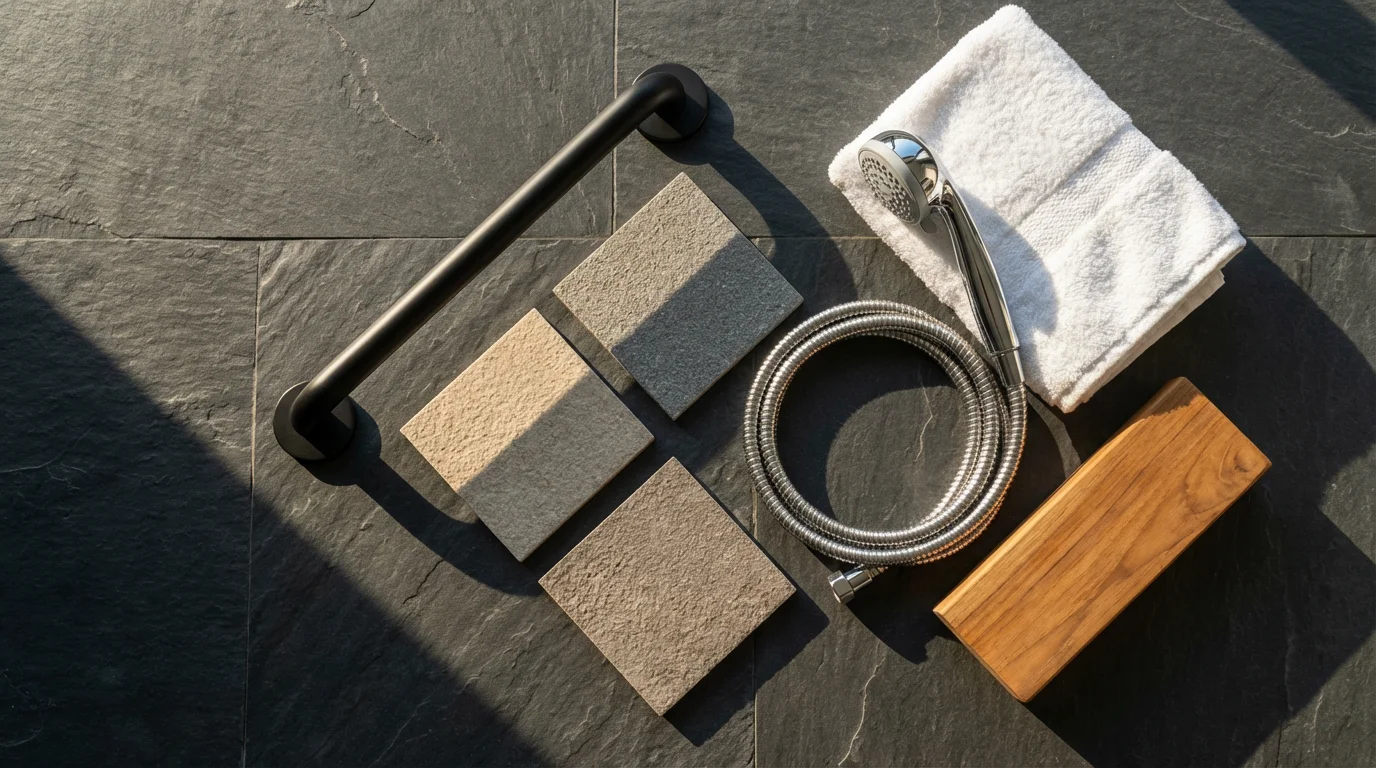
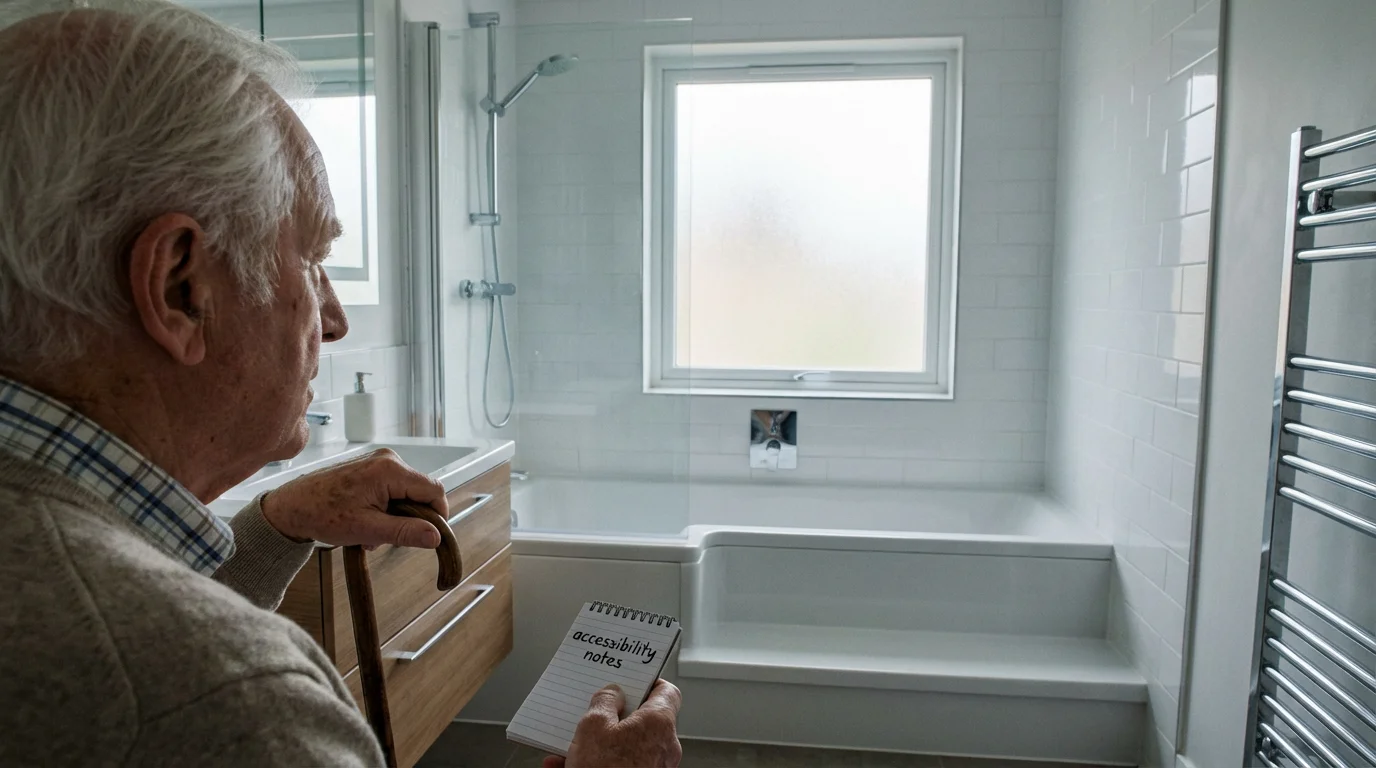
Creating a Safe and Functional Bathroom
Bathrooms pose some of the highest risks for falls in the home, yet they also offer the most significant opportunities for accessibility improvements. Focus on creating a safe, easy-to-use, and comfortable space. Begin by evaluating your shower or bathtub, toilet area, and sink.
Safety inside the home is vital, but many seniors also value retirement communities with indoor amenities that allow for activity during inclement weather.
For those who find major bathroom renovations prohibitive, affordable senior living communities often provide these safety features as standard.
Renovating for safety can be costly, so it is helpful to understand housing affordability for seniors when budgeting for these vital home improvements.
A walk-in or roll-in shower is a cornerstone of an accessible bathroom. These showers eliminate the high threshold of a traditional tub, allowing for easy entry and exit, even with a shower chair or wheelchair. Install grab bars inside the shower, near the toilet, and next to the tub if you retain one. Position them securely into wall studs for maximum support.
Choose non-slip flooring materials for the entire bathroom. Options include textured tiles, vinyl, or rubber flooring. Ensure rugs have non-slip backing or remove them entirely to prevent tripping hazards. Install a handheld showerhead for easier bathing while seated or for caregivers. Adjustable height showerheads provide additional flexibility.
Consider a comfort-height toilet, typically 17 to 19 inches from the floor to the top of the seat. This reduces the effort required to sit down and stand up. Replace standard twist faucets with lever handles, which are easier to operate for individuals with limited dexterity. Ensure ample lighting throughout the bathroom, especially around the vanity and shower area.
- Install a walk-in or roll-in shower with a low or no threshold.
- Secure grab bars near the toilet, in the shower, and by the bathtub.
- Choose non-slip flooring materials for the entire bathroom.
- Install a handheld showerhead and an adjustable-height shower wand.
- Replace standard height toilets with comfort-height models.
- Opt for lever-style faucet and door handles.
- Ensure adequate, bright lighting without harsh glare.
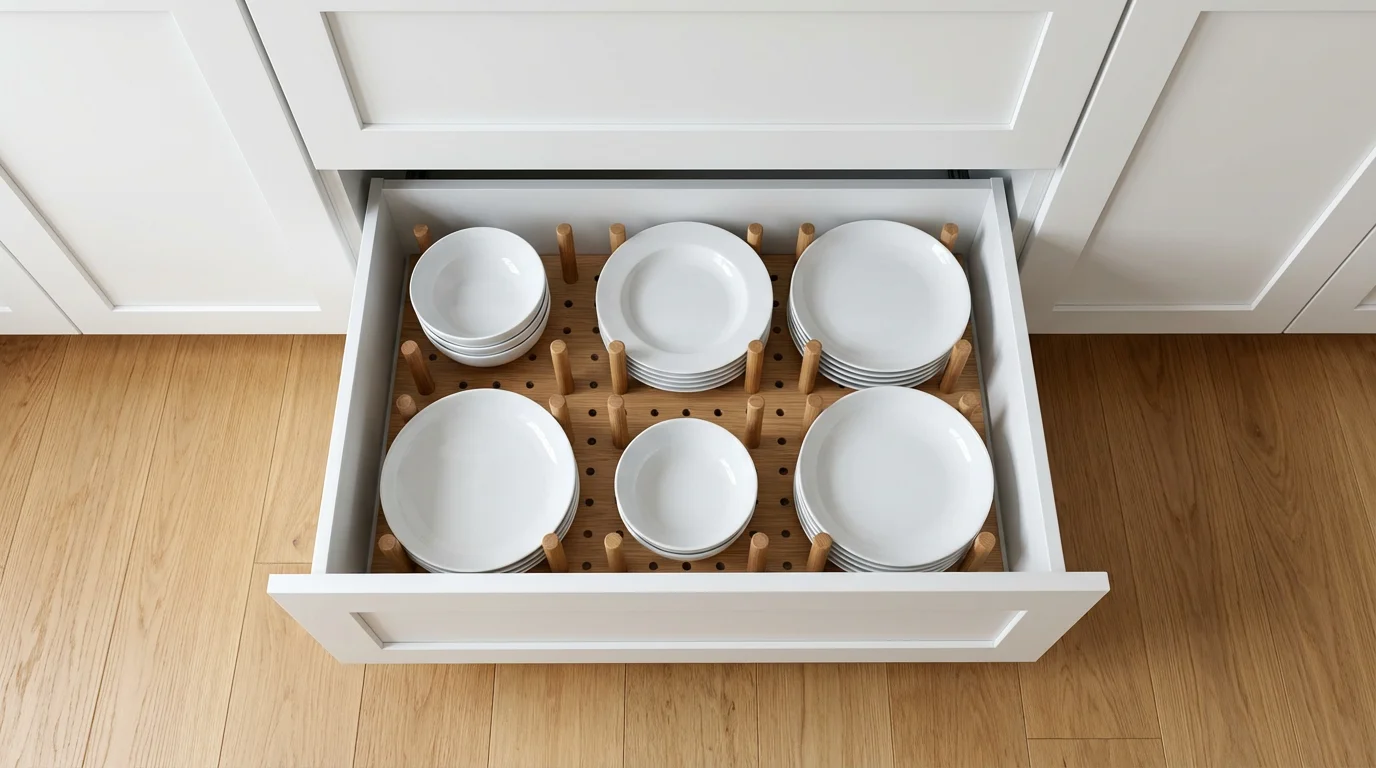
Optimizing Kitchens and Living Spaces for Ease of Use
The kitchen often serves as the heart of the home, and making it accessible ensures you maintain independence in meal preparation and daily routines. Living spaces should also promote ease of movement and comfort. Focus on creating an intuitive layout that minimizes bending, reaching, and awkward maneuvers.
While optimizing your living spaces, it is also wise to consider long-term expenses by comparing utility costs across different potential retirement states.
In the kitchen, consider pull-out shelves or drawers in lower cabinets to eliminate the need for deep bending. Installing adjustable-height countertops or a roll-under sink area can greatly improve usability for those using wheelchairs or who prefer to sit while working. Place frequently used items on lower shelves or in accessible drawers.
Replace traditional knob handles on cabinets and drawers with D-shaped pull handles or lever handles, which are easier to grasp. Position major appliances such as ovens, microwaves, and dishwashers at comfortable heights, avoiding excessive bending or reaching. Side-opening ovens or wall ovens integrated at waist height offer practical solutions.
For living spaces, maintain clear, wide pathways between furniture. Aim for at least 36 inches of clear space for easy maneuverability. Arrange furniture to support natural movement and avoid clutter. Ensure rugs have non-slip backings or remove them to prevent tripping. Consider chairs and sofas with firm cushions and armrests to assist with standing and sitting.
Good lighting enhances both safety and mood. Install layered lighting, including overhead fixtures, task lighting, and accent lighting. Use rocker-style light switches positioned at an accessible height (typically 36-48 inches from the floor) for easy operation. Minimize glare by using dimmer switches and appropriate window coverings. The AARP Livable Communities initiative advocates for homes that support all ages and abilities, aligning with these principles.
- Install pull-out shelves or drawers in kitchen cabinets.
- Consider adjustable-height countertops or a roll-under sink.
- Replace cabinet knobs with D-shaped pull handles or levers.
- Position wall ovens and microwaves at an accessible height.
- Maintain clear, 36-inch wide pathways between furniture in living areas.
- Select seating with firm cushions and sturdy armrests.
- Implement layered lighting and accessible rocker light switches.
- Secure or remove rugs to prevent tripping hazards.

Bedrooms and Personal Spaces: Comfort and Safety
Your bedroom should be a sanctuary of comfort and safety, facilitating restful sleep and easy daily routines. Apply accessibility principles to ensure it remains a supportive personal space. Start by examining the layout and the placement of essential items.
Ensure clear pathways to the bed, closet, and bathroom. Maintain at least 36 inches of unobstructed space. Position the bed at an appropriate height that allows you to get in and out comfortably, typically with feet flat on the floor when seated on the edge. Adjustable beds can also provide significant benefits for comfort and mobility.
Keep essential items, such as a phone, water, and medication, within easy reach of the bed. Consider installing wall-mounted or bedside lamps with accessible switches. Dimmers allow you to adjust lighting for different activities and times of day. Ensure closet rods and shelving are at a height you can easily access without stretching or bending excessively.
For added security, install an emergency call system or personal alert device near the bed. These devices provide peace of mind and quick access to help if needed. Ensure windows are easy to open and close, and that blinds or curtains operate smoothly. Choose flooring that is soft underfoot, yet stable, such as low-pile carpet or non-slip wood or vinyl.
- Ensure clear, 36-inch wide pathways to all bedroom essentials.
- Adjust bed height for comfortable entry and exit.
- Keep essential items within arm’s reach of the bed.
- Install accessible bedside lighting and switches.
- Organize closets with adjustable rods and shelving at comfortable heights.
- Consider an emergency call system or personal alert device.
- Ensure easy operation of windows, blinds, and curtains.
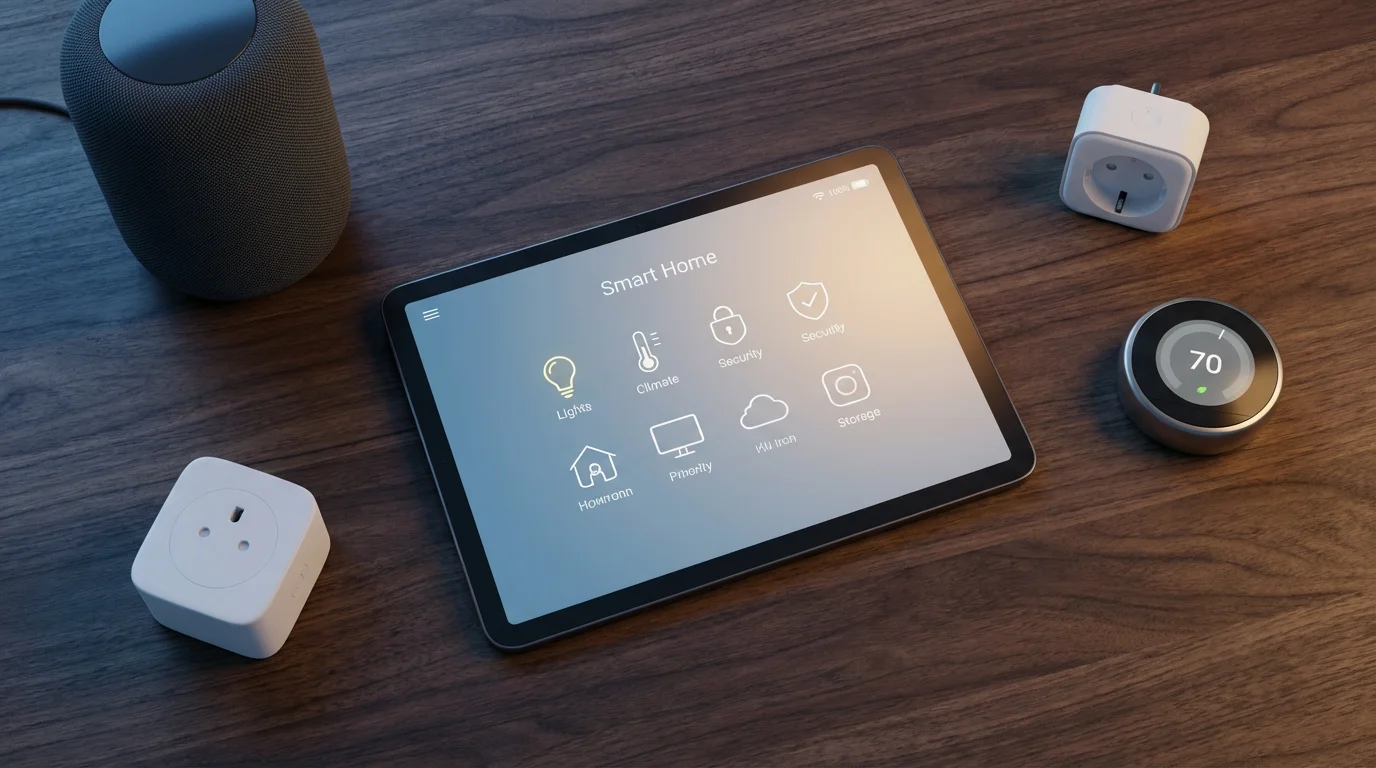
Smart Home Technology for Enhanced Accessibility and Independence
Modern smart home technology offers incredible potential to enhance accessibility, safety, and independence in your retirement home. These systems integrate seamlessly into your daily life, providing convenience and peace of mind. You can control many aspects of your environment with simple voice commands or a smartphone app.
Voice-activated smart assistants can control lights, thermostats, entertainment systems, and even smart appliances. This eliminates the need to reach for switches or buttons, benefiting individuals with limited mobility or dexterity. Imagine turning off all the lights from your bed with a single command.
Automated lighting systems adjust to ambient light levels or a preset schedule. Motion-sensor lights illuminate pathways automatically as you move through your home, preventing falls in dimly lit areas. Smart plugs allow you to control lamps or small appliances remotely. They offer a simple way to upgrade existing items without extensive rewiring.
Smart security systems provide enhanced safety. Video doorbells let you see and speak to visitors without opening the door. Connected cameras offer monitoring capabilities, and smart locks allow keyless entry for family or caregivers. Medical alert systems, integrated with smart home platforms, can automatically contact emergency services in case of a fall or other medical event. These technologies support your ability to live independently and safely.
- Utilize voice-activated assistants for controlling lights, thermostats, and entertainment.
- Install automated or motion-sensor lighting for safety and convenience.
- Employ smart plugs to control lamps and small appliances remotely.
- Integrate smart security systems, including video doorbells and smart locks.
- Explore medical alert systems with fall detection or emergency contact features.
- Use smart thermostats for easy temperature control.
- Consider smart blinds or shades for effortless window management.
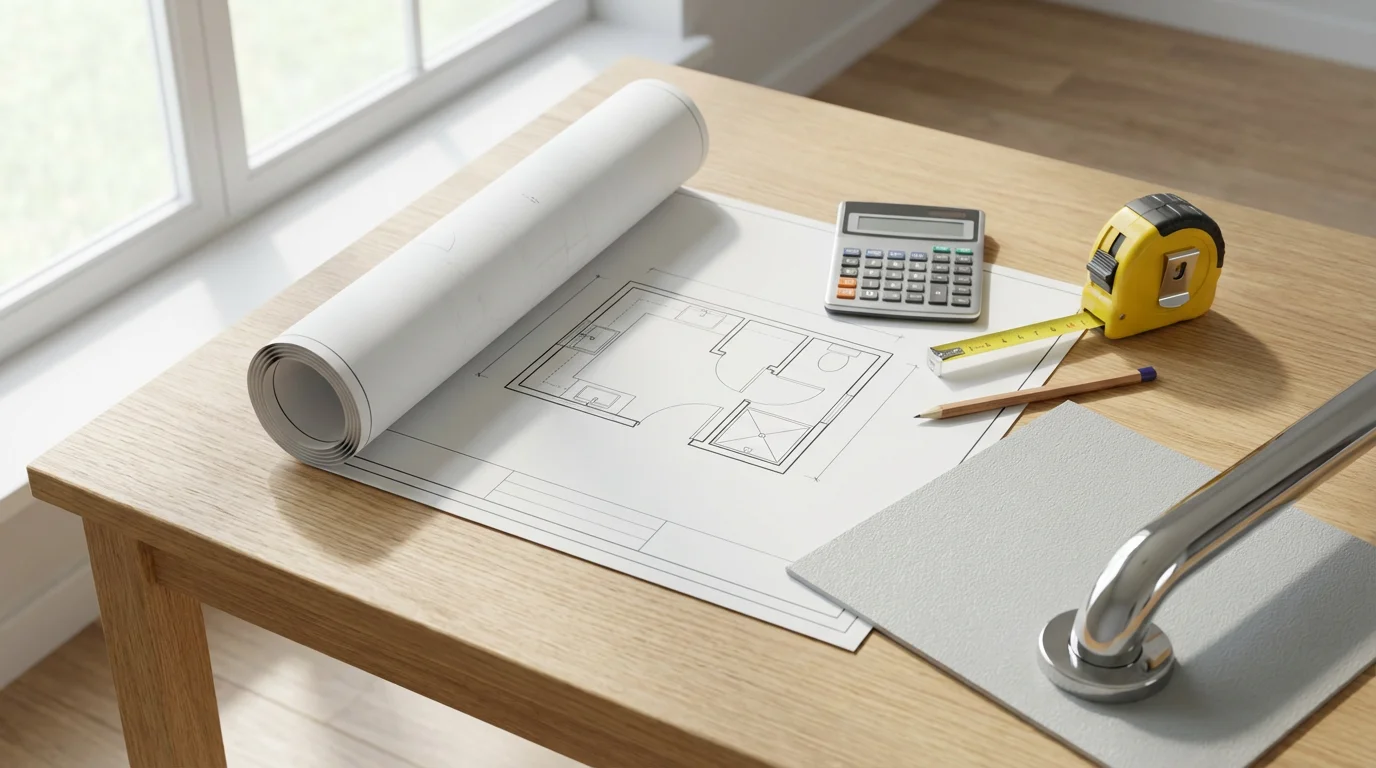
Planning Your Accessibility Project: Costs, Resources, and Professional Help
Embarking on a home accessibility project requires careful planning, budget consideration, and sometimes professional assistance. Approaching your modifications systematically helps ensure success and cost-effectiveness. Start by prioritizing changes based on immediate safety needs and your long-term goals.
Begin by creating a detailed budget. Research the costs associated with each modification, considering both materials and labor. Obtain multiple quotes from contractors for larger projects. While some smaller changes, like installing grab bars, lend themselves to DIY, many accessibility modifications benefit from professional expertise. Understanding your financial resources helps you phase renovations over time if necessary.
Seek out qualified professionals. A Certified Aging-in-Place Specialist (CAPS) possesses specific training in accessible home design and can offer invaluable advice. You can find CAPS professionals through organizations like the National Association of Home Builders. An occupational therapist can also conduct a home assessment, providing recommendations tailored to your specific needs. These experts ensure modifications meet safety standards and truly enhance your living experience.
Explore potential financial assistance programs. Some state and local governments offer grants or low-interest loans for home modifications, especially for seniors or individuals with disabilities. Veterans may qualify for benefits through the Department of Veterans Affairs. Check with local Area Agencies on Aging or the Eldercare Locator for resources in your community. These programs help offset costs and make necessary modifications more achievable.
Common Accessibility Modifications and Estimated Cost Ranges:
| Modification | Description | Estimated Cost Range (DIY to Professional) |
|---|---|---|
| Grab Bars | Installing sturdy support bars in bathrooms and showers | $100 – $500 |
| Raised Toilet Seat | Ergonomic toilet for easier use, or seat attachment | $50 – $200 |
| Handheld Showerhead | For easier bathing while seated or for assistance | $50 – $300 |
| Lever Handles (Doors/Faucets) | Replacing knobs for easier grip and operation | $200 – $1,000+ (per room/house) |
| Non-Slip Flooring | Installing textured, non-slip surfaces in high-risk areas | $500 – $5,000+ (per room) |
| Zero-Threshold Shower | Converting a tub or standard shower for easy entry | $2,000 – $10,000+ |
| Door Widening (36 inches) | Adjusting doorways for wheelchair or walker access | $500 – $2,000+ per door |
| Ramps (Exterior) | Installing a permanent ramp for home access | $1,000 – $5,000+ |
| Stair Lifts | Motorized chair to transport individuals up and down stairs | $2,000 – $15,000+ |
| Smart Lighting/Voice Control | Automated or voice-activated lighting and smart plugs | $200 – $1,500+ |
Steps to planning your accessibility project:
- Conduct a thorough home assessment and prioritize needs.
- Research specific modifications and gather cost estimates.
- Develop a realistic budget, considering potential financing.
- Consult with Certified Aging-in-Place Specialists (CAPS) or occupational therapists.
- Obtain multiple bids from qualified, licensed contractors.
- Explore financial assistance programs and local resources.
- Schedule renovations strategically, potentially phasing them over time.
Frequently Asked Questions
How can I make my home accessible without major renovations?
Many impactful accessibility improvements do not require extensive renovations. Focus on low-cost, high-impact changes. These include installing grab bars, replacing doorknobs with lever handles, adding non-slip mats, improving lighting, securing loose rugs, and rearranging furniture for wider pathways. Consider a portable ramp for a single step or a handheld showerhead. These small changes significantly enhance safety and comfort.
What accessibility features should I install first?
Prioritize features that address immediate safety risks, particularly in bathrooms and entryways. Install grab bars in the shower and near the toilet. Ensure clear, well-lit entryways and address any steps or high thresholds. Focus on reducing fall hazards throughout your home. These initial modifications provide the greatest immediate benefit for safety and independence.
What is universal design, and how does it relate to senior living?
Universal design is an approach to creating environments and products usable by all people, regardless of age, ability, or size. It promotes accessibility and ease of use for everyone, including seniors. For senior living, universal design means building or modifying homes that adapt to changing needs over time, allowing residents to age in place comfortably and safely without needing specialized modifications later. It emphasizes intuition, low physical effort, and flexibility.
Are there financial aid programs for accessible home modifications?
Yes, several programs can help. You can research state and local government grants, low-interest loans, and property tax exemptions for home accessibility modifications. Veterans may qualify for specific grants through the Department of Veterans Affairs. Non-profit organizations and Area Agencies on Aging also offer resources and assistance. Check with your local government housing authority for more information.
Should I consult a professional for accessibility modifications?
For significant modifications, consulting a professional is highly recommended. A Certified Aging-in-Place Specialist (CAPS) or an occupational therapist can provide expert advice, perform a comprehensive home assessment, and ensure modifications meet safety standards. They help you identify the most effective and appropriate changes for your specific needs, often saving you time and money in the long run. DIY projects are fine for simple changes, but complex installations benefit from professional expertise.
Disclaimer: This article is for informational purposes only. Cost of living, taxes, and local conditions change over time. We encourage readers to verify current information through official sources and visit potential retirement destinations before making relocation decisions.


Leave a Reply